I am (as of a few weeks ago) the proud owner of a 1899 Knabe 9′ long concert grand piano!! This has been a dream of mine since I was a child, and I am so fortunate to have a wife who will let me keep it in our tiny house.

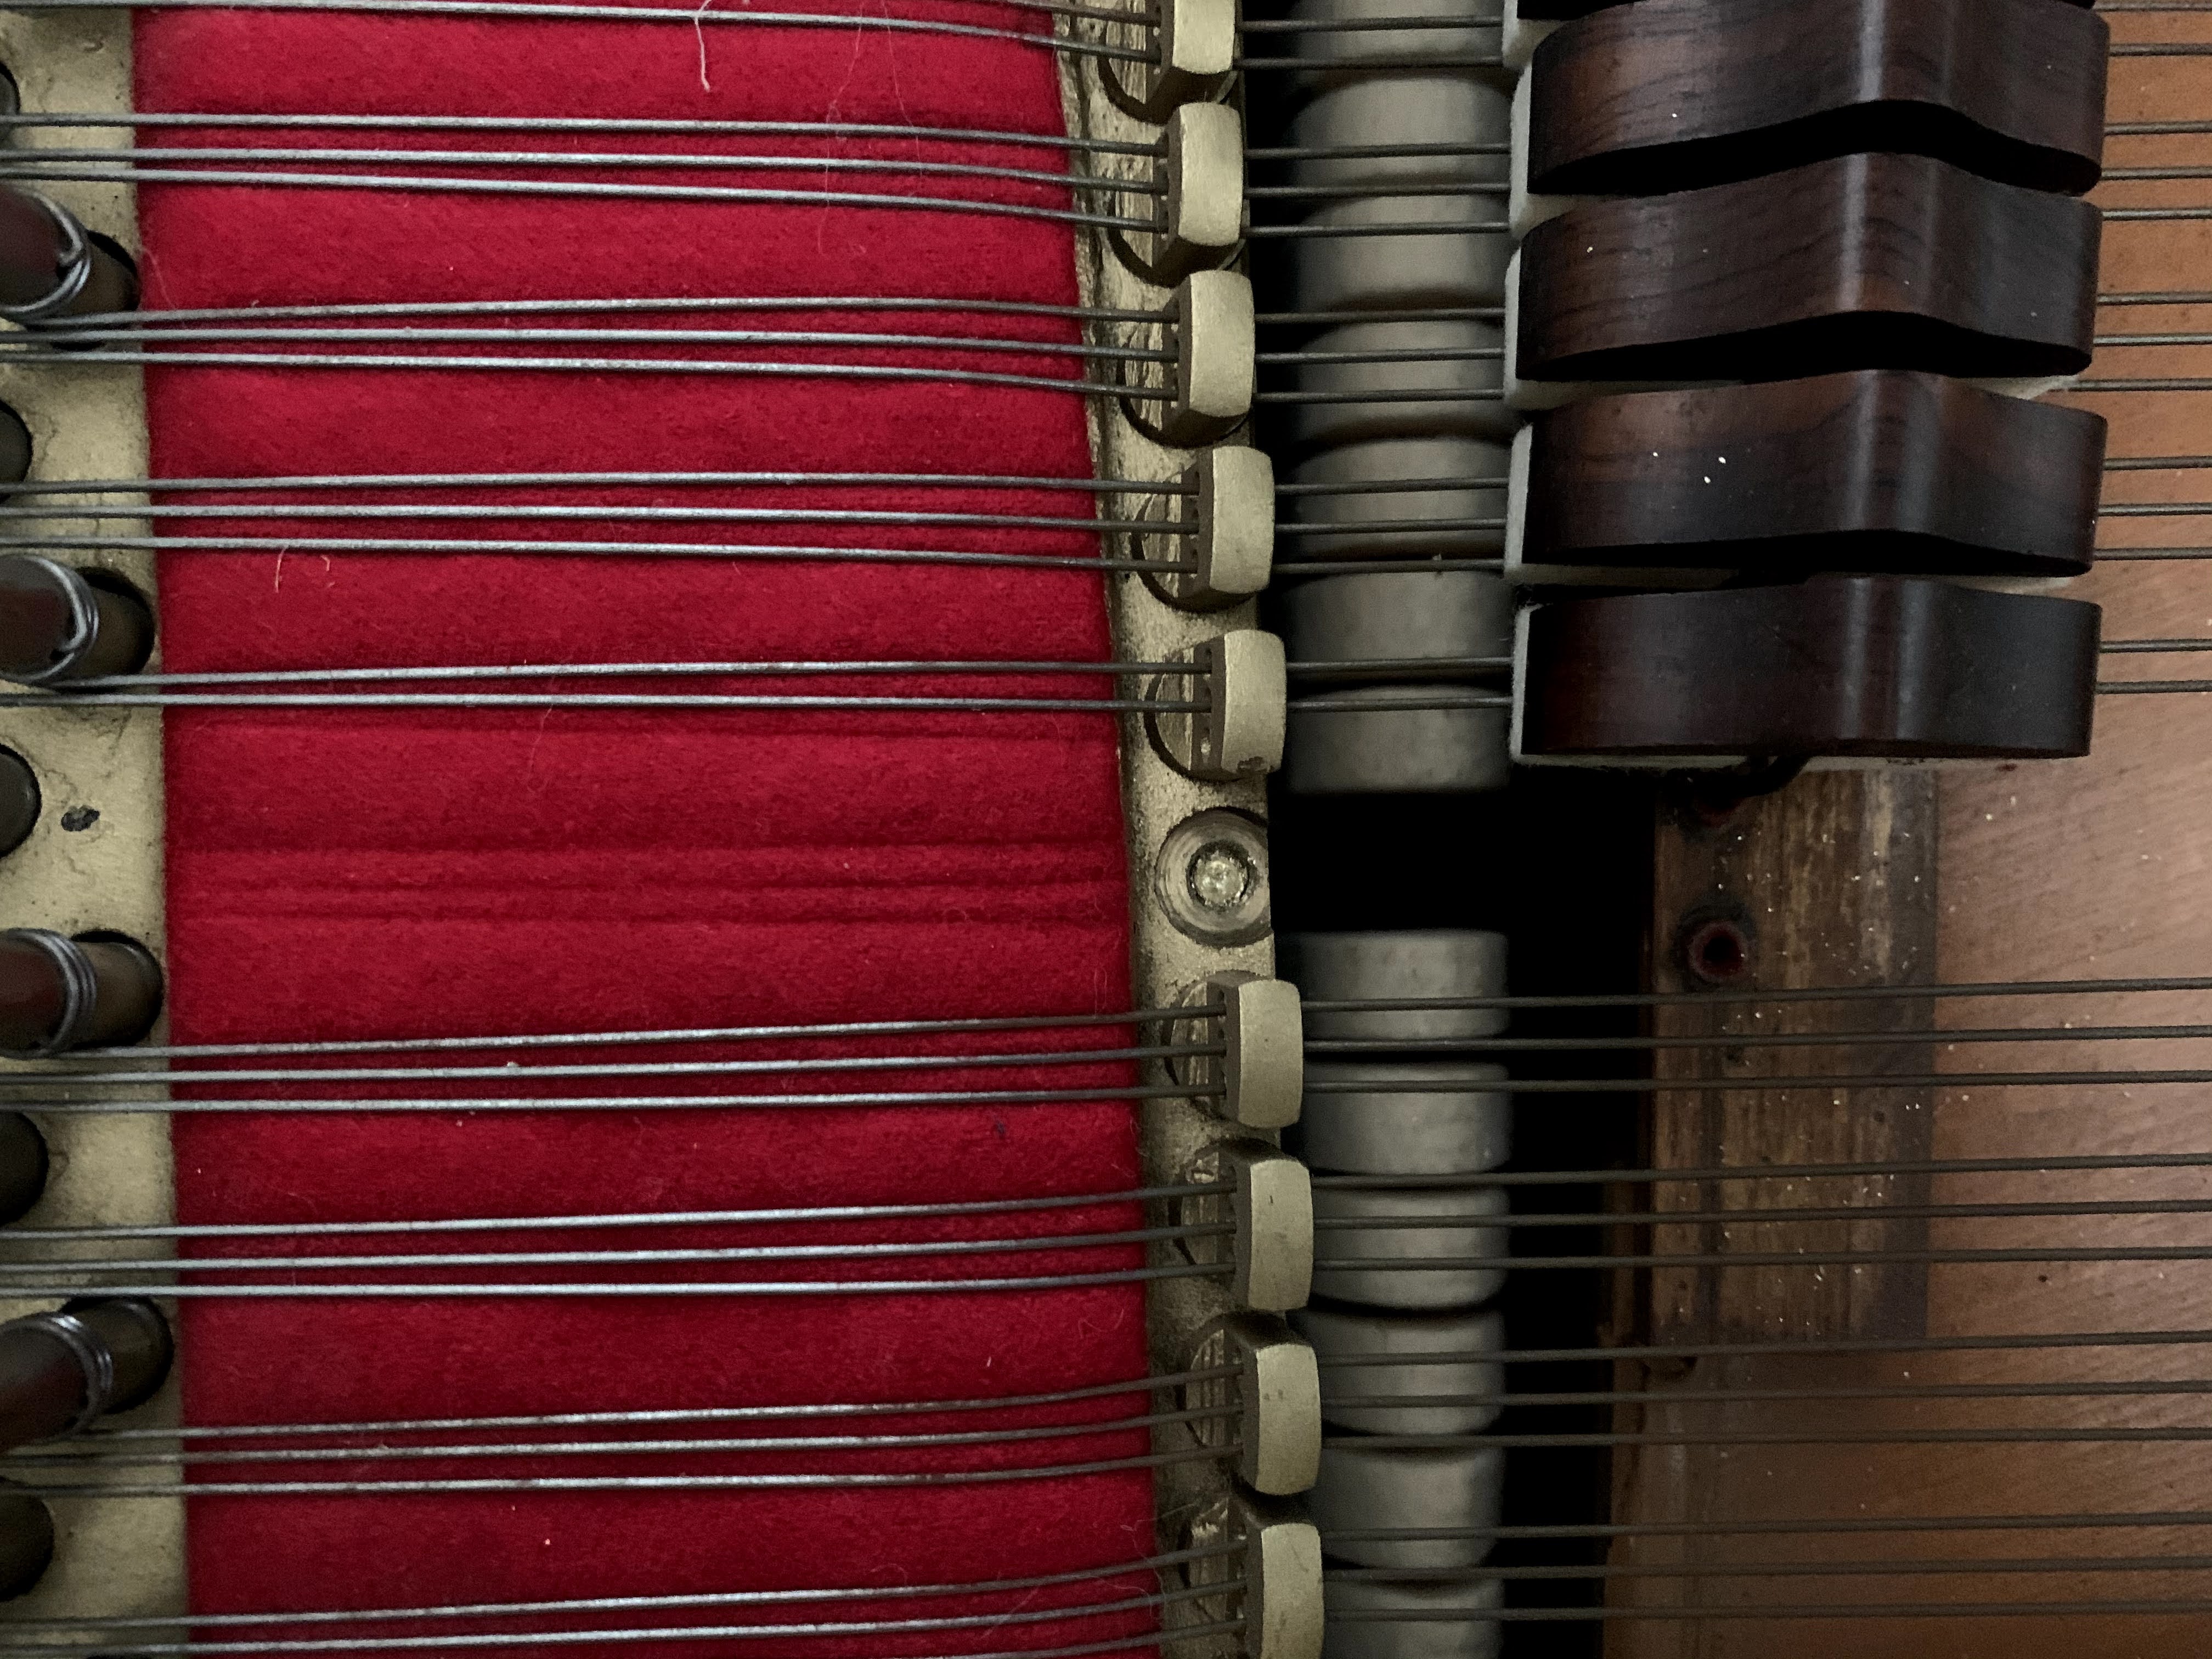
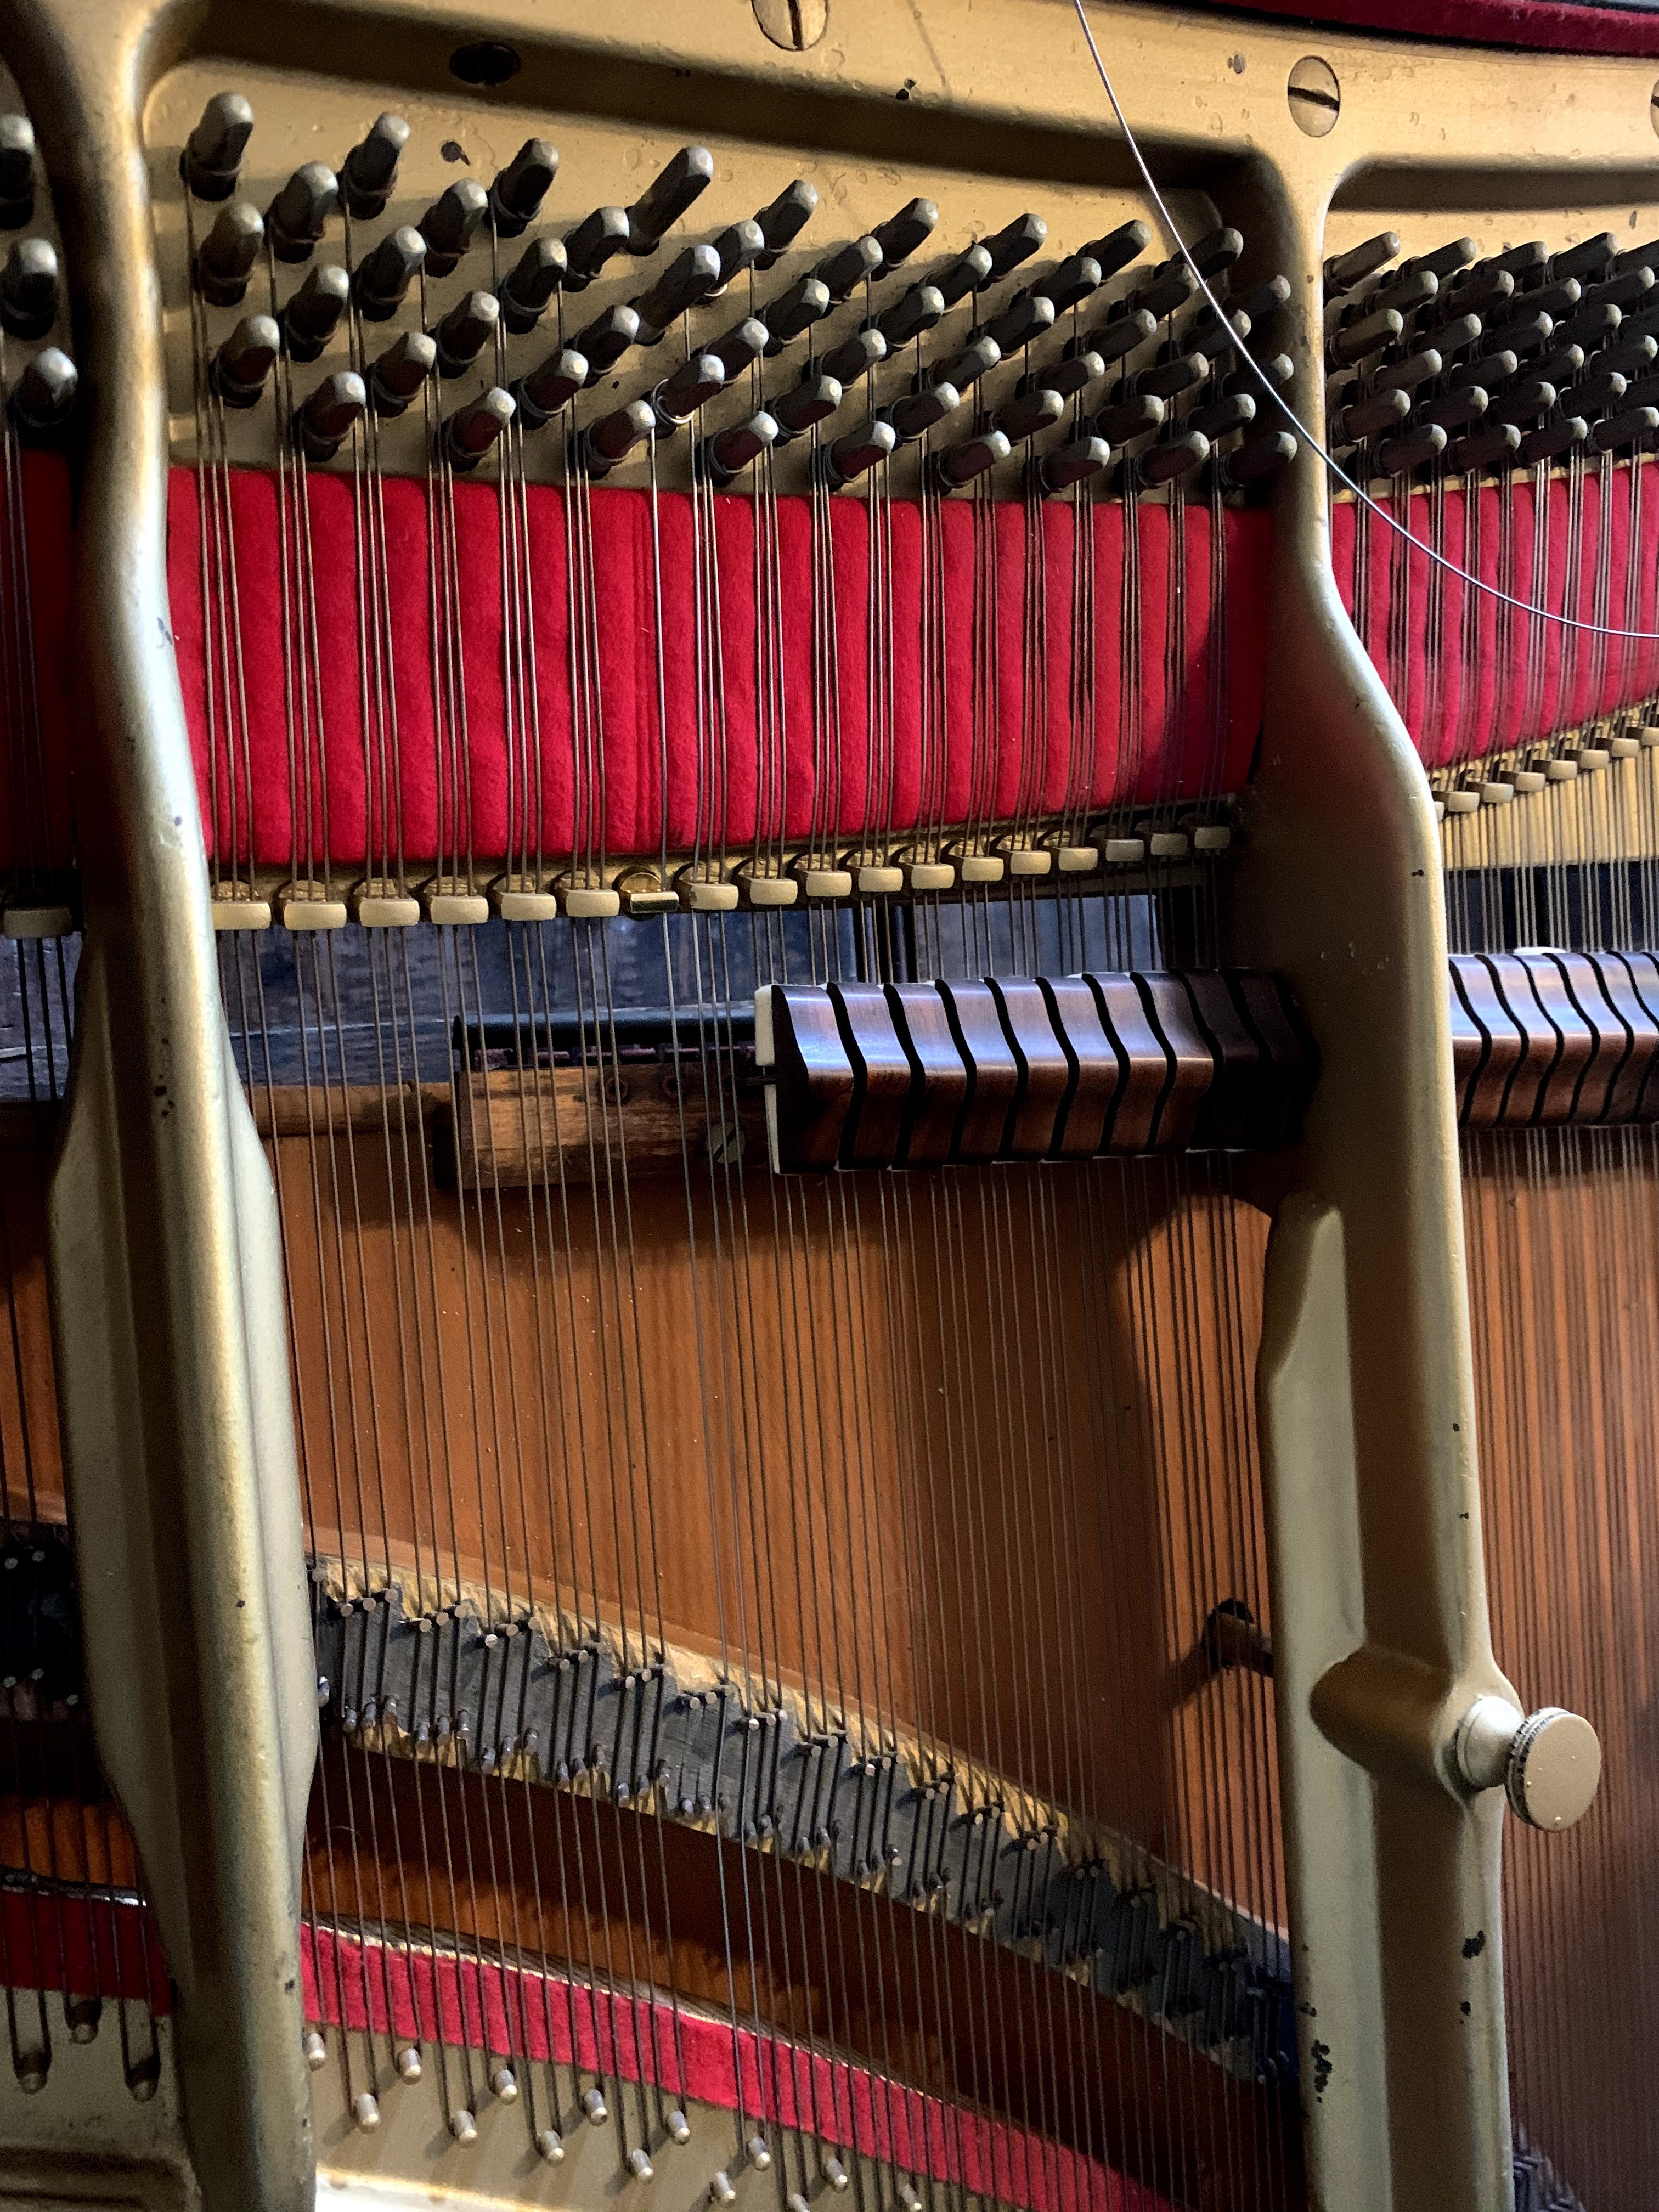
I got the piano from Craigslist- the former owner was disposing of his parent’s apartment and wanted their piano to have a good home. I just had to pay to get it moved to my house! Obviously, nothing in life is completely free, and this piano had a few immediately apparent issues. The most obvious one was that an agraffe was broken. This is the piece that holds the strings down onto the cast iron plate. As you sit and play, it’s immediately noticeable that the action is worn out and inconsistent, which makes playing the piano much more work physically and makes it more difficult to handle musically. It likely needs new hammers, shanks, flanges, and whippens, as well as polished keypins and new felting, not to mention key leveling and adjustment. In addition, the dampers need new felt. Quite the list!
This may sound overwhelming, but there is actually a lot of good news too. The belly of the piano is in good condition. The pin block is tight, soundboard is in good shape, the harp is not cracked or rusted, and the case only has minor scrapes- no big dings or cracks. The legs are solid and piano is still sound structurally. All of this means that that the piano can hold a beautiful tune and with a little help, it will be able to provide joy and gorgeous music for another 121 years.
Earlier this month, I tuned the piano, and it holds well and is a joy to play. I spent a little time polishing and lubricating the back action, and after some work and adjusting the damper felts, it was in good shape. I was also able to do a small amount of hammer voicing and leveling + action regulating and while it still plays like a truck, it is at least a little more controllable and consistent.
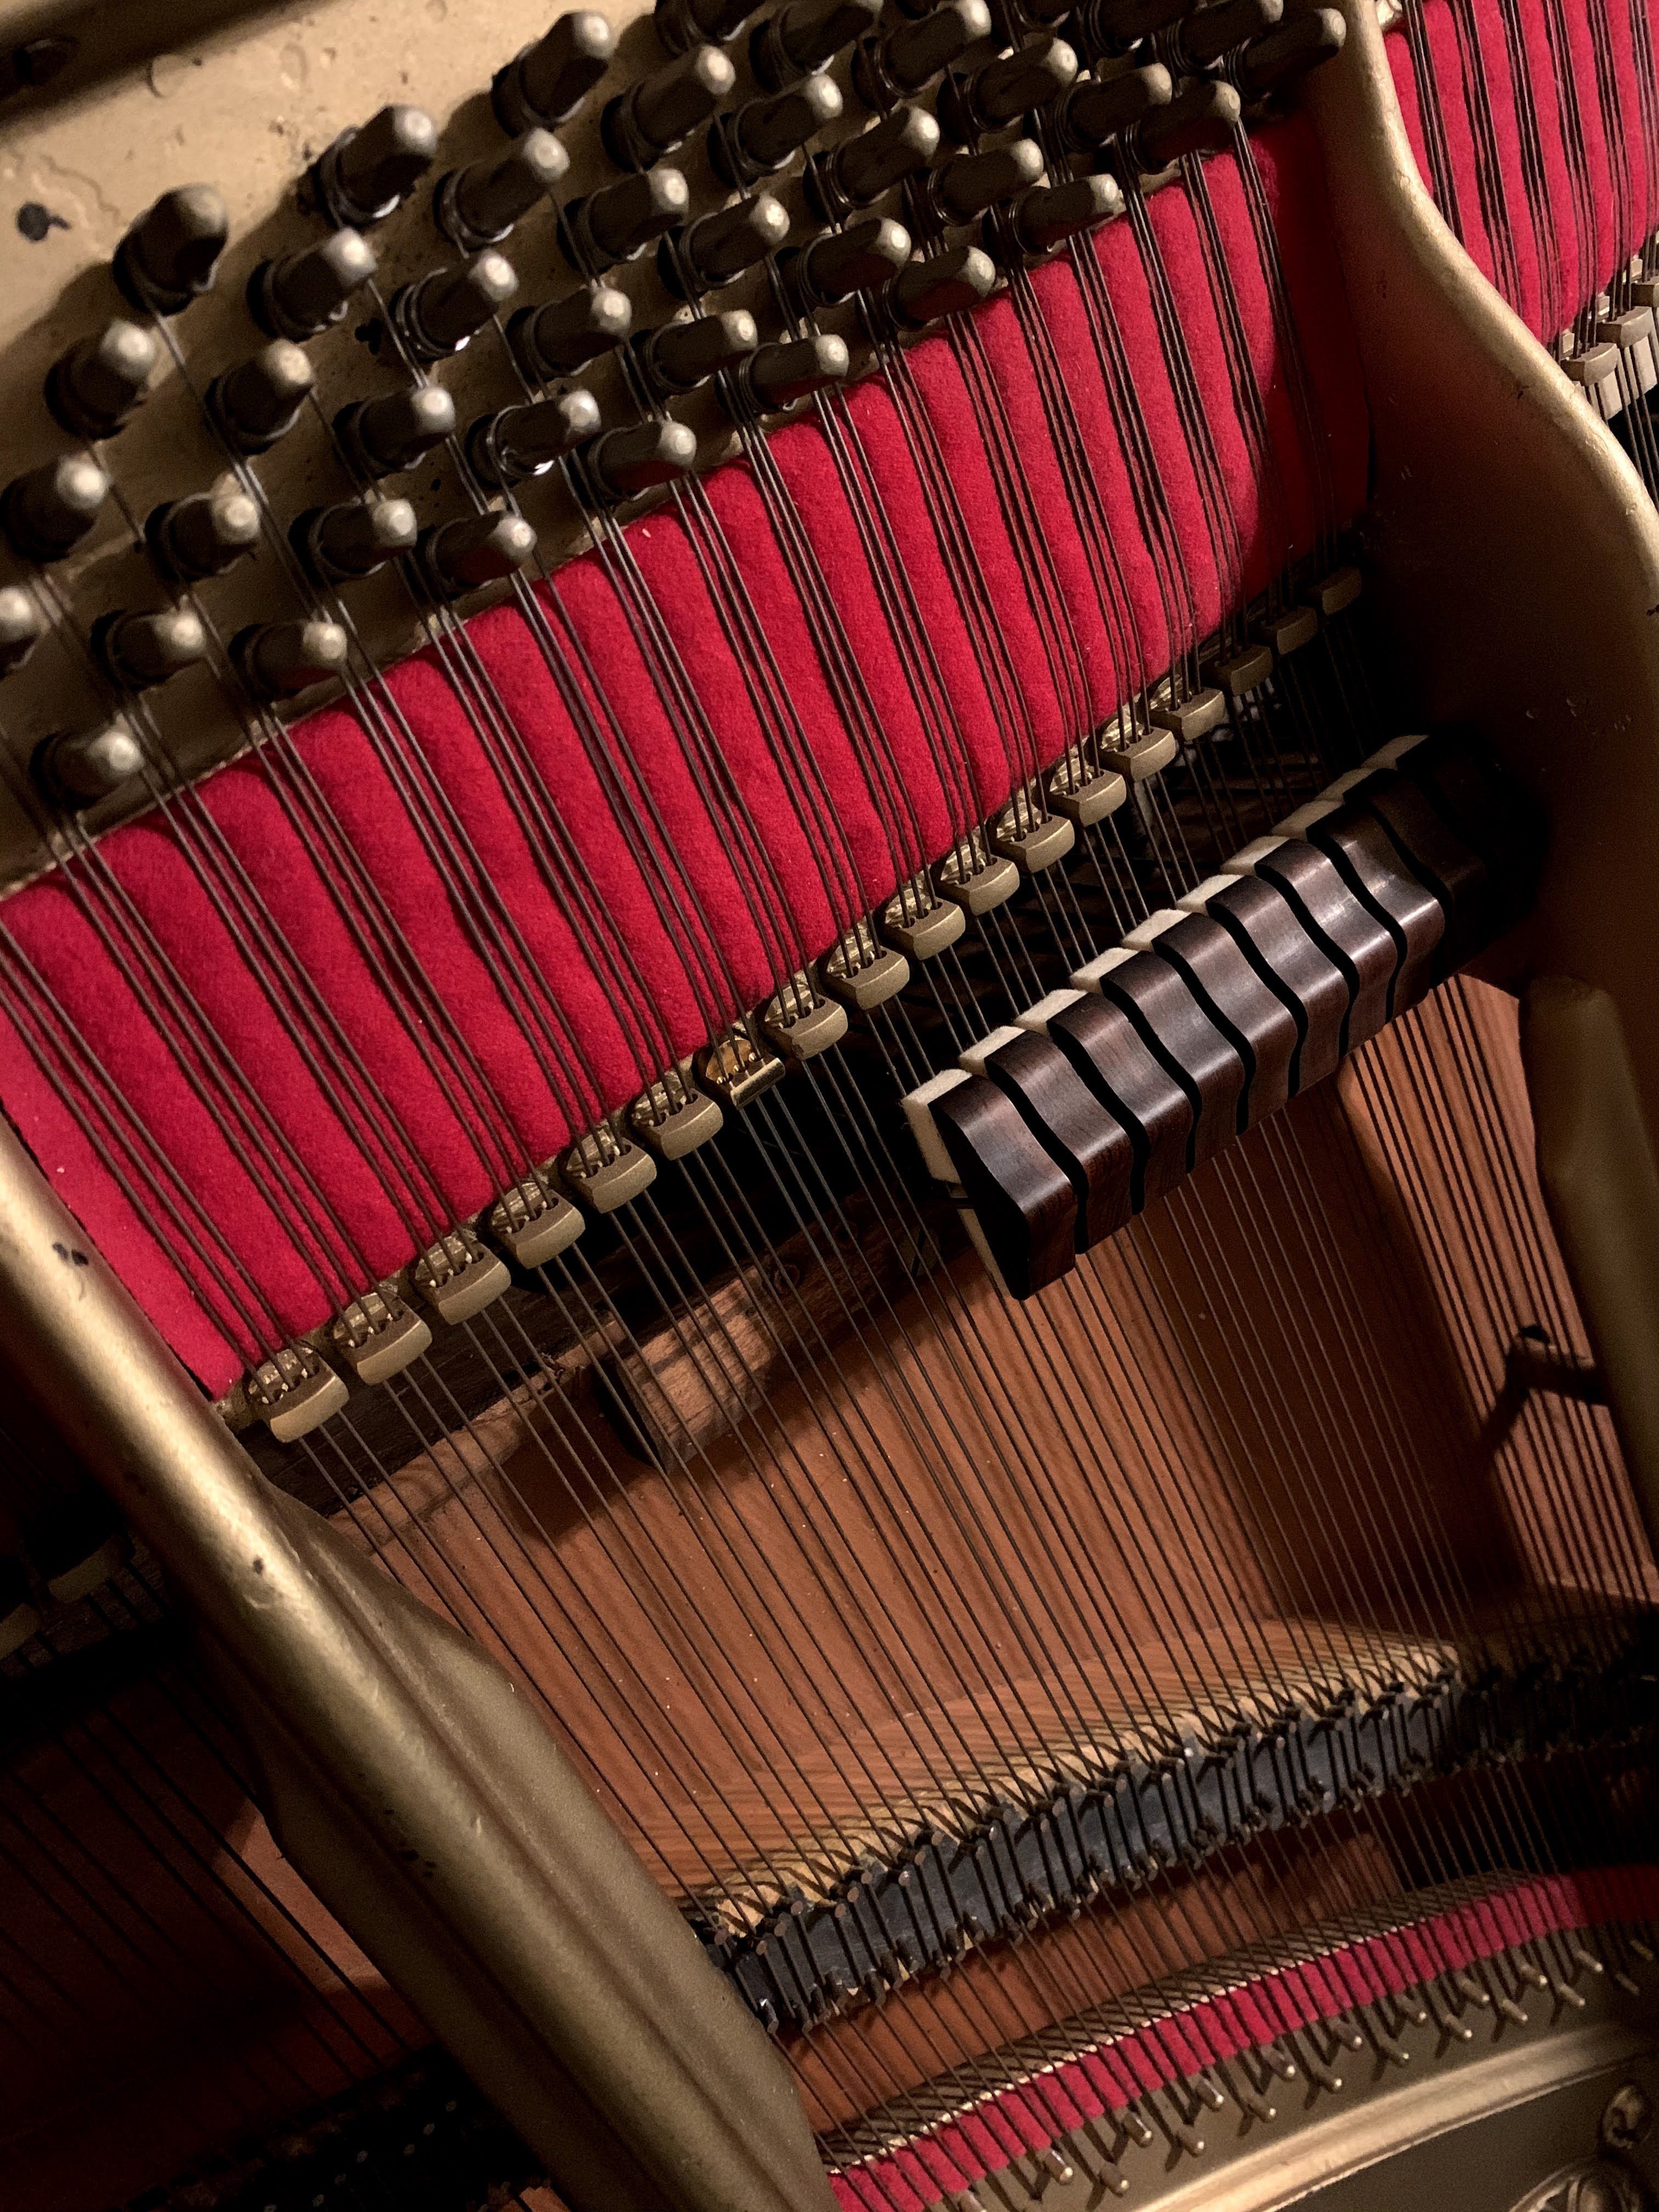
Over the break, I began the process of replacing the agraffe. To start, I removed the old strings and backed the tuning pins out 3.5 turns. Since the strings are looped over hitch pins in the plate, this required removal of four strings total. I then used a micrometer to measure the strings and agraffe head, so that I could order the correct sized replacement string and agraffe from a piano supply company.
Next, I used a dremel to create a small hole in the center of the broken agraffe. This is where we can insert a blind extractor tool, and a few turns later, we are out!

Getting the new agraffe to fit was another unexpected adventure- the new one had too long of a threaded length and also was too tall- making the string height too different from its surrounding notes. I fixed both of these issues with some judicious filing and dremel work, and Voila!

After installing the agraffe, I began restringing the piano. Never having done this before, I was very careful to do a lot of research. Either I am very talented, or this is not as difficult as people say. Definitely time consuming, but just wear eye protection and take your time! The new string needed a small touch up tune once everything had bedded in, and has been stable since.
After the new year, John Callahan from Callahan piano has generously offered his assistance and advice to help me get the most out of my action. I will be using the Stanwood action balancing method along with some brand new top of the line action parts to bring my piano back to peak performance. I can’t wait!
